
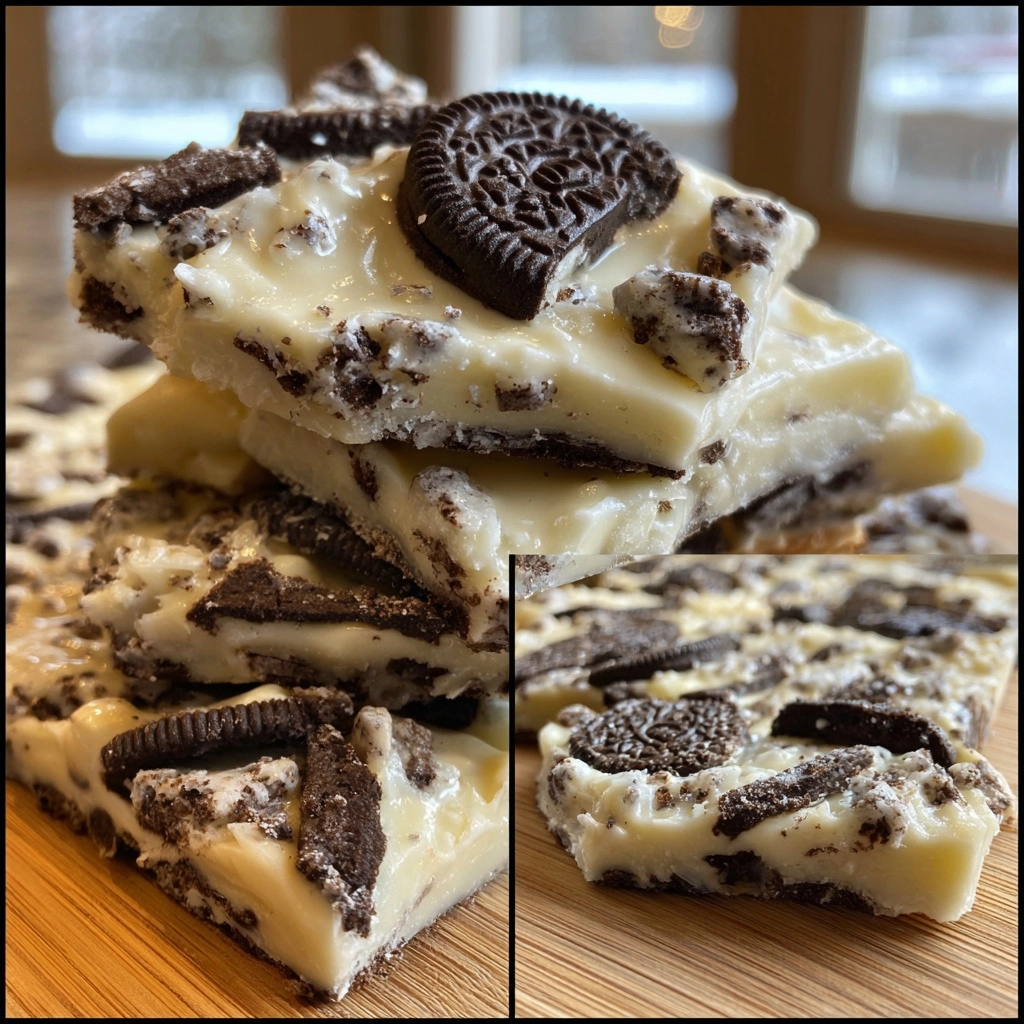
White Chocolate Oreo Bark
As a busy mom, I know how precious time can be, especially when it comes to whipping up something sweet. That’s why I absolutely adore this White Chocolate Oreo Bark! It’s a delightful treat that combines the creamy goodness of white chocolate with the satisfying crunch of Oreo cookies. Perfect for a quick dessert or a last-minute gift, this recipe is not only easy to make but also a guaranteed crowd-pleaser. Whether you’re looking to impress your loved ones or simply indulge yourself, this bark is the answer to your sweet cravings!
Why You’ll Love This White Chocolate Oreo Bark
This White Chocolate Oreo Bark is a dream come true for busy lives! It’s incredibly easy to make, requiring just a few simple steps. In less than 15 minutes, you can have a delicious dessert ready to chill. The combination of creamy white chocolate and crunchy Oreos creates a flavor explosion that’s hard to resist. Plus, it’s a no-bake treat, so you can enjoy the sweet satisfaction without heating up the kitchen!
Ingredients for White Chocolate Oreo Bark
Gathering the right ingredients is the first step to creating your delicious White Chocolate Oreo Bark. Here’s what you’ll need:
- White chocolate chips: These are the star of the show! Their creamy texture melts beautifully, creating a luscious base for your bark.
- Oreo cookies: The classic chocolate sandwich cookies add a delightful crunch and rich flavor. Feel free to use any variety, like double-stuffed or seasonal flavors!
- Crushed Oreos: This is for topping your bark. It adds an extra layer of crunch and visual appeal. You can crush them by hand or use a food processor for a finer texture.
For a fun twist, consider adding sprinkles or chopped nuts on top before refrigerating. These optional ingredients can elevate your bark and make it even more festive!
Exact measurements for each ingredient are available at the bottom of the article for easy printing. Happy baking!
How to Make White Chocolate Oreo Bark
Step 1: Prepare Your Baking Sheet
Start by lining a baking sheet with parchment paper. This simple step makes all the difference! The parchment prevents the bark from sticking, ensuring easy removal later. Just cut a piece large enough to cover the bottom of the sheet, letting it hang over the edges a bit. This way, you can lift the bark out effortlessly once it’s set. Trust me, this little trick saves you from a sticky situation!
Step 2: Melt the White Chocolate
Next, grab a microwave-safe bowl and add your white chocolate chips. Microwave them in 30-second intervals, stirring well after each round. This is crucial! Stirring helps the chocolate melt evenly and prevents it from burning. You want it to be smooth and creamy, like a dreamy cloud. Once melted, set it aside for a moment while you prepare the Oreos. Your kitchen will smell heavenly!
Step 3: Crush the Oreo Cookies
Now it’s time to crush those Oreo cookies! Place them in a zip-top bag and use a rolling pin or your hands to break them into small pieces. You want a mix of larger chunks and finer crumbs for texture. Once crushed, fold the Oreos into the melted white chocolate gently. This step is where the magic happens, as the cookies blend beautifully with the chocolate, creating a delightful mixture!
Step 4: Pour and Spread the Mixture
Pour the chocolate-Oreo mixture onto your prepared baking sheet. Use a spatula to spread it evenly across the surface. Aim for about half an inch thick, so it’s not too thin or too thick. The more even the spread, the better the bark will look and taste! Take your time with this step; it’s all about creating a beautiful canvas for your sweet treat.
Step 5: Add Toppings
🚫 Don’t Buy This If…
- ❌ You hate hosting fun parties
- ❌ You don’t like saving time in the kitchen
- ❌ You only want boring, basic recipes
✅ What You’ll Get:
- ✅ 63 spooky & delicious Halloween recipes
- ✅ Creepy treats, eerie snacks, scary drinks & more
- ✅ Kid-friendly & adult-approved
- ✅ 📥 Instant digital download – start cooking today!

Before the chocolate sets, sprinkle the reserved crushed Oreos on top. This adds a lovely crunch and makes your bark visually appealing. Feel free to get creative! You can also add colorful sprinkles or chopped nuts for an extra pop. Just make sure to distribute them evenly so every bite is a delightful surprise. Your bark is already looking fabulous!
Step 6: Refrigerate Until Set
Now, it’s time to let your creation chill! Place the baking sheet in the refrigerator for about an hour. This allows the chocolate to harden completely. While you wait, you can daydream about how delicious it will be! Just remember, patience is key here. Once it’s set, you’ll be ready to enjoy your sweet masterpiece.
Step 7: Break and Serve
Finally, it’s time for the best part—breaking the bark into pieces! Lift the parchment paper out of the baking sheet and place it on a cutting board. Use your hands to break it into irregular pieces. This rustic look adds charm! Serve your White Chocolate Oreo Bark on a pretty platter or in a festive tin. Everyone will be eager to dig in!
Tips for Success
- Make sure your bowl is completely dry before melting the chocolate; any moisture can cause it to seize.
- For a smoother melt, use high-quality white chocolate chips.
- Don’t rush the refrigeration; letting it set fully ensures a perfect texture.
- Experiment with different toppings like nuts or dried fruit for a unique twist.
- Store leftovers in an airtight container to keep them fresh and delicious!
Equipment Needed
- Microwave-safe bowl: Any heatproof bowl will do, but glass works best for even melting.
- Baking sheet: A standard size is perfect; you can also use a shallow dish.
- Parchment paper: Wax paper is a good alternative if you’re in a pinch.
- Spatula: A silicone spatula is great for spreading the mixture evenly.
- Zip-top bag: Use any resealable bag for crushing Oreos easily.
Variations
- Dark Chocolate Oreo Bark: Swap white chocolate for dark chocolate for a richer flavor.
- Mint Oreo Bark: Use mint-flavored Oreos for a refreshing twist that’s perfect for the holidays.
- Peanut Butter Oreo Bark: Add a layer of melted peanut butter on top of the white chocolate before adding the Oreos for a nutty flavor.
- Gluten-Free Option: Use gluten-free Oreos to make this treat suitable for those with gluten sensitivities.
- Nutty Bark: Incorporate chopped nuts like almonds or walnuts into the mixture for added crunch and flavor.
Serving Suggestions
- Pair your White Chocolate Oreo Bark with a warm cup of coffee or hot cocoa for a cozy treat.
- Serve it alongside fresh fruit like strawberries or raspberries for a refreshing contrast.
- Present the bark on a decorative platter, garnished with mint leaves for a pop of color.
- Wrap pieces in cellophane and tie with a ribbon for a charming homemade gift.
FAQs about White Chocolate Oreo Bark
Can I use other types of chocolate for this recipe?
Absolutely! While white chocolate is the star here, you can easily swap it for dark or milk chocolate. Each variation brings its own unique flavor, so feel free to experiment!
How should I store the White Chocolate Oreo Bark?
Store your bark in an airtight container in the refrigerator. This keeps it fresh and prevents it from getting too soft. It should last about a week, but I doubt it will last that long!
Can I make this recipe ahead of time?
Yes! This White Chocolate Oreo Bark is perfect for making ahead. Just prepare it a day or two in advance, and you’ll have a sweet treat ready to go whenever you need it.
What can I do with leftover ingredients?
If you have extra Oreos or white chocolate, consider making a batch of cookies or adding them to your favorite dessert recipes. They can also be used to top ice cream or yogurt for a delicious snack!
Is this recipe suitable for kids to help with?
Definitely! This recipe is simple enough for kids to join in. They can help crush the Oreos and sprinkle the toppings. Just be sure to supervise during the melting process!
Summarizing the Joy of White Chocolate Oreo Bark
Creating White Chocolate Oreo Bark is more than just making a dessert; it’s about sharing joy with those you love. The simplicity of this recipe allows you to whip up a delightful treat in no time, making it perfect for busy days. Each bite is a sweet reminder of life’s little pleasures, combining creamy chocolate and crunchy Oreos in a way that brings smiles all around. Whether you’re enjoying it with family or gifting it to friends, this bark is sure to create sweet memories that linger long after the last piece is gone!
Print
White Chocolate Oreo Bark: A Sweet Treat You’ll Love!
- Prep Time: 15 minutes
- Cook Time: 0 minutes
- Total Time: 1 hour 15 minutes
- Yield: 12 servings 1x
- Category: Dessert
- Method: No-Bake
- Cuisine: American
- Diet: Vegetarian
Description
White Chocolate Oreo Bark is a delicious and easy-to-make treat that combines the creaminess of white chocolate with the crunch of Oreo cookies.
Ingredients
- 12 oz white chocolate chips
- 1 package Oreo cookies (about 15 cookies)
- 1/2 cup crushed Oreos for topping
Instructions
- Line a baking sheet with parchment paper.
- Melt the white chocolate chips in a microwave-safe bowl, stirring every 30 seconds until smooth.
- Crush the Oreo cookies into small pieces and fold them into the melted white chocolate.
- Pour the mixture onto the prepared baking sheet and spread it evenly.
- Sprinkle the crushed Oreos on top of the bark.
- Refrigerate for about 1 hour or until set.
- Break into pieces and serve.
Notes
- Store in an airtight container in the refrigerator.
- For a fun twist, add sprinkles or nuts on top before refrigerating.
Nutrition
- Serving Size: 1 piece
- Calories: 150
- Sugar: 12g
- Sodium: 50mg
- Fat: 8g
- Saturated Fat: 5g
- Unsaturated Fat: 2g
- Trans Fat: 0g
- Carbohydrates: 18g
- Fiber: 0g
- Protein: 1g
- Cholesterol: 5mg