
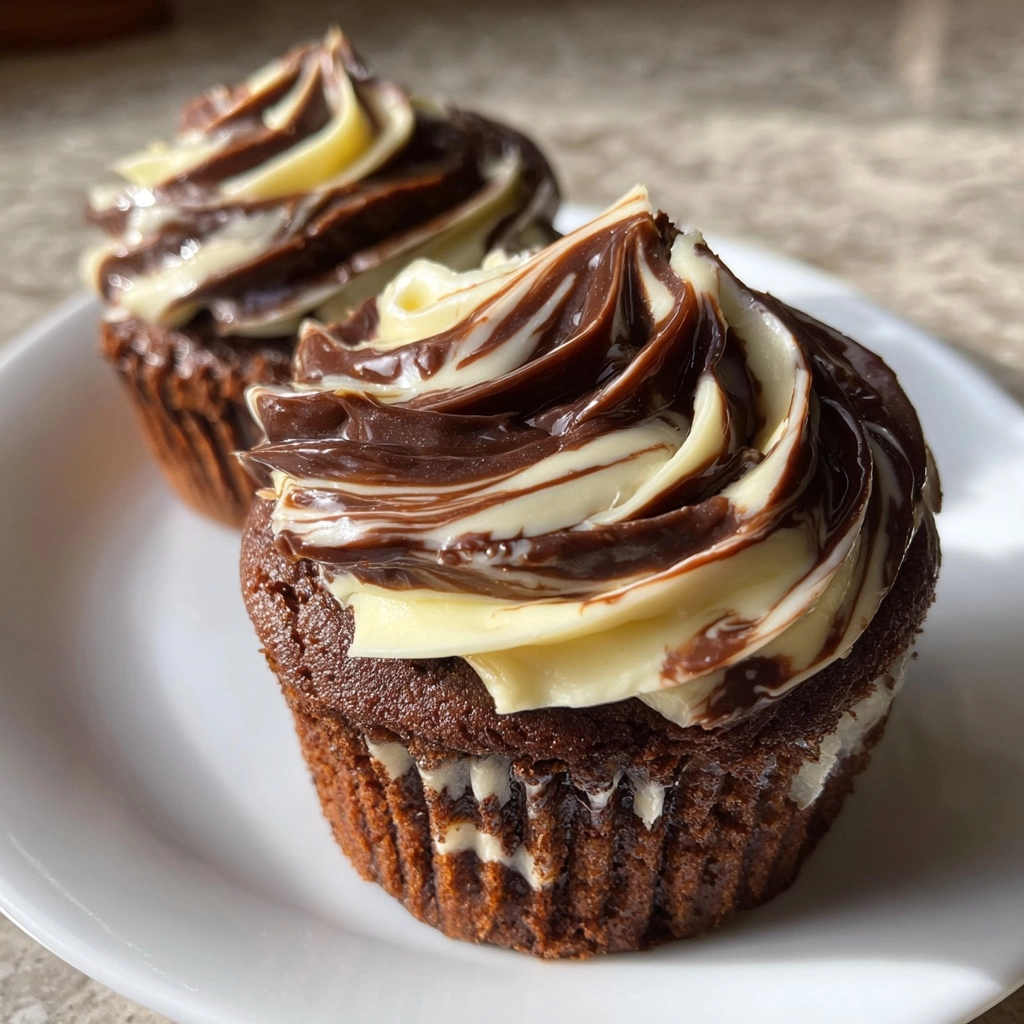
Swirled Chocolate Cupcakes
There’s something magical about the aroma of freshly baked Swirled Chocolate Cupcakes wafting through the kitchen. It instantly brings back memories of family gatherings and celebrations. As a busy mom, I know how precious time is, and these cupcakes are a quick solution for those hectic days when you want to whip up something special. They’re not just delicious; they’re a delightful treat that can impress your loved ones without requiring hours in the kitchen. Trust me, once you try these, they’ll become a go-to recipe in your baking repertoire!
Why You’ll Love This Swirled Chocolate Cupcakes
These Swirled Chocolate Cupcakes are a dream come true for busy moms and professionals alike. They’re incredibly easy to make, taking just 40 minutes from start to finish. The rich, chocolatey flavor is sure to satisfy any sweet tooth, making them perfect for any occasion. Plus, the swirled frosting adds a touch of elegance, turning a simple dessert into a showstopper. You’ll love how quickly they disappear!
Ingredients for Swirled Chocolate Cupcakes
Gathering the right ingredients is the first step to creating your delicious Swirled Chocolate Cupcakes. Here’s what you’ll need:
- All-purpose flour: This is the backbone of your cupcakes, providing structure and texture.
- Granulated sugar: Sweetness is key! It helps create that moist, tender crumb.
- Unsweetened cocoa powder: For that rich chocolate flavor, this is a must-have.
- Baking powder: This leavening agent helps your cupcakes rise beautifully.
- Baking soda: Another leavening agent that works wonders when paired with acidic ingredients.
- Salt: Just a pinch enhances all the flavors, making your cupcakes taste even better.
- Unsalted butter: Softened butter adds richness and moisture to the batter.
- Large eggs: They bind everything together and add moisture and richness.
- Vanilla extract: A splash of vanilla elevates the flavor profile, making it irresistible.
- Buttermilk: This adds moisture and a slight tang, resulting in a tender cupcake.
- Chocolate frosting: The star of the show! Use your favorite store-bought or homemade frosting for that swirled effect.
For those looking to experiment, consider using dark cocoa powder for a deeper flavor. You can find all the exact measurements at the bottom of the article, ready for printing!
How to Make Swirled Chocolate Cupcakes
Step 1: Preheat and Prepare
First things first, preheat your oven to 350°F (175°C). This step is crucial for achieving that perfect rise in your Swirled Chocolate Cupcakes. While the oven warms up, line a cupcake pan with your favorite cupcake liners. I love using colorful ones to add a fun touch! Make sure to have everything ready, as this will make the process smoother and more enjoyable.
Step 2: Mix Dry Ingredients
In a large mixing bowl, whisk together the all-purpose flour, granulated sugar, unsweetened cocoa powder, baking powder, baking soda, and salt. This step is essential for evenly distributing the leavening agents and ensuring your cupcakes rise beautifully. I like to use a whisk for this; it makes the process feel a bit more like a culinary dance! Keep whisking until everything is well combined and there are no lumps.
Step 3: Combine Wet Ingredients
Now, it’s time to add the wet ingredients! To your dry mix, add the softened unsalted butter, large eggs, vanilla extract, and buttermilk. Mix everything together until you achieve a smooth batter. I usually use an electric mixer for this part, but a good old-fashioned whisk works just fine too! The batter should be thick and luscious, ready to be transformed into delightful cupcakes.
Step 4: Fill Cupcake Liners
Using a spoon or a measuring cup, fill each cupcake liner about two-thirds full with the batter. This allows room for the cupcakes to rise without overflowing. I find that using an ice cream scoop makes this step super easy and mess-free! Just imagine the joy of seeing those perfectly filled liners waiting to bake into delicious treats.
Step 5: Swirl the Frosting
Once your cupcakes are baked and cooled, it’s time for the fun part—swirling the chocolate frosting! Using a piping bag fitted with a star tip, pipe the frosting in a circular motion on top of each cupcake. Don’t worry about making it perfect; a little imperfection adds charm! The swirls should be generous, creating a beautiful contrast against the rich chocolate cupcake.
Step 6: Bake and Cool
🚫 Don’t Buy This If…
- ❌ You hate hosting fun parties
- ❌ You don’t like saving time in the kitchen
- ❌ You only want boring, basic recipes
✅ What You’ll Get:
- ✅ 63 spooky & delicious Halloween recipes
- ✅ Creepy treats, eerie snacks, scary drinks & more
- ✅ Kid-friendly & adult-approved
- ✅ 📥 Instant digital download – start cooking today!

Place your filled cupcake pan in the preheated oven and bake for 18-20 minutes. You’ll know they’re done when a toothpick inserted into the center comes out clean. Once baked, remove them from the oven and let them cool in the pan for about 5 minutes. Then, transfer them to a wire rack to cool completely. This cooling step is vital for achieving that perfect texture!
Tips for Success
- Always measure your ingredients accurately for the best results.
- Let your butter soften at room temperature for easier mixing.
- Use room temperature eggs and buttermilk for a smoother batter.
- Don’t overmix the batter; mix just until combined for fluffy cupcakes.
- Experiment with different frosting techniques for a fun twist!
Equipment Needed
- Cupcake pan: Essential for baking your cupcakes. A muffin tin works too!
- Mixing bowls: Use a large bowl for mixing ingredients; a glass bowl is great for visibility.
- Whisk or electric mixer: A whisk is perfect for mixing by hand, while an electric mixer saves time.
- Piping bag: Ideal for frosting; a zip-top bag with a corner cut works as a substitute.
- Cooling rack: Helps cool cupcakes evenly; a plate can work in a pinch.
Variations
- Gluten-Free: Substitute all-purpose flour with a gluten-free blend for a delicious gluten-free option.
- Vegan: Replace eggs with flax eggs and use plant-based butter and non-dairy milk for a vegan-friendly treat.
- Mint Chocolate: Add a few drops of peppermint extract to the batter for a refreshing minty twist.
- Chocolate Chip: Fold in chocolate chips into the batter for an extra chocolatey surprise in every bite.
- Nutty Delight: Incorporate chopped nuts like walnuts or pecans for added texture and flavor.
Serving Suggestions
- Pair your Swirled Chocolate Cupcakes with a scoop of vanilla ice cream for a delightful dessert combo.
- Serve with a side of fresh berries to add a pop of color and freshness.
- For a festive touch, dust with powdered sugar or drizzle with chocolate sauce.
- Enjoy with a cup of coffee or a glass of cold milk for the ultimate treat.
FAQs about Swirled Chocolate Cupcakes
Can I make these cupcakes ahead of time?
Absolutely! You can bake the Swirled Chocolate Cupcakes a day in advance. Just store them in an airtight container at room temperature. Frost them right before serving for the best taste and presentation.
What can I use instead of buttermilk?
If you don’t have buttermilk on hand, you can easily make a substitute. Just mix one cup of milk with a tablespoon of vinegar or lemon juice. Let it sit for about 5 minutes, and you’ll have a perfect buttermilk replacement!
How do I store leftover cupcakes?
To keep your cupcakes fresh, store them in an airtight container at room temperature for up to three days. If you want to keep them longer, you can freeze them for up to two months. Just make sure to wrap them well!
Can I use a different frosting?
Of course! While chocolate frosting is a classic choice, feel free to experiment with other flavors. Cream cheese frosting or vanilla buttercream can add a delightful twist to your Swirled Chocolate Cupcakes.
Why are my cupcakes dense?
If your cupcakes turn out dense, it might be due to overmixing the batter or using too much flour. Remember to mix just until combined for light and fluffy cupcakes!
Summarizing the Joy of Swirled Chocolate Cupcakes
There’s a special kind of joy that comes from baking Swirled Chocolate Cupcakes. The process is simple yet rewarding, allowing you to create something delightful in just 40 minutes. Each bite is a celebration of rich chocolate flavor, bringing smiles to faces young and old. Whether it’s a birthday, a family gathering, or just a treat for yourself, these cupcakes are sure to impress. The swirled frosting adds a touch of elegance, making them perfect for any occasion. So, roll up your sleeves and indulge in the sweet happiness these cupcakes bring!
Print
Swirled Chocolate Cupcakes: Indulge in Deliciousness!
- Prep Time: 20 minutes
- Cook Time: 20 minutes
- Total Time: 40 minutes
- Yield: 12 cupcakes 1x
- Category: Dessert
- Method: Baking
- Cuisine: American
- Diet: Vegetarian
Description
Deliciously moist chocolate cupcakes swirled with rich chocolate frosting, perfect for any occasion.
Ingredients
- 1 1/2 cups all-purpose flour
- 1 cup granulated sugar
- 1/2 cup unsweetened cocoa powder
- 1 tsp baking powder
- 1/2 tsp baking soda
- 1/4 tsp salt
- 1/2 cup unsalted butter, softened
- 2 large eggs
- 1 tsp vanilla extract
- 1 cup buttermilk
- 1 cup chocolate frosting
Instructions
- Preheat the oven to 350°F (175°C) and line a cupcake pan with liners.
- In a large bowl, whisk together the flour, sugar, cocoa powder, baking powder, baking soda, and salt.
- Add the softened butter, eggs, vanilla extract, and buttermilk to the dry ingredients and mix until smooth.
- Fill each cupcake liner about 2/3 full with the batter.
- Using a piping bag, swirl chocolate frosting on top of each cupcake.
- Bake for 18-20 minutes or until a toothpick inserted comes out clean.
- Let the cupcakes cool before serving.
Notes
- For a richer flavor, use dark cocoa powder.
- Store cupcakes in an airtight container for up to 3 days.
- These cupcakes can be frozen for up to 2 months.
Nutrition
- Serving Size: 1 cupcake
- Calories: 250
- Sugar: 20g
- Sodium: 150mg
- Fat: 12g
- Saturated Fat: 7g
- Unsaturated Fat: 3g
- Trans Fat: 0g
- Carbohydrates: 35g
- Fiber: 2g
- Protein: 3g
- Cholesterol: 40mg