
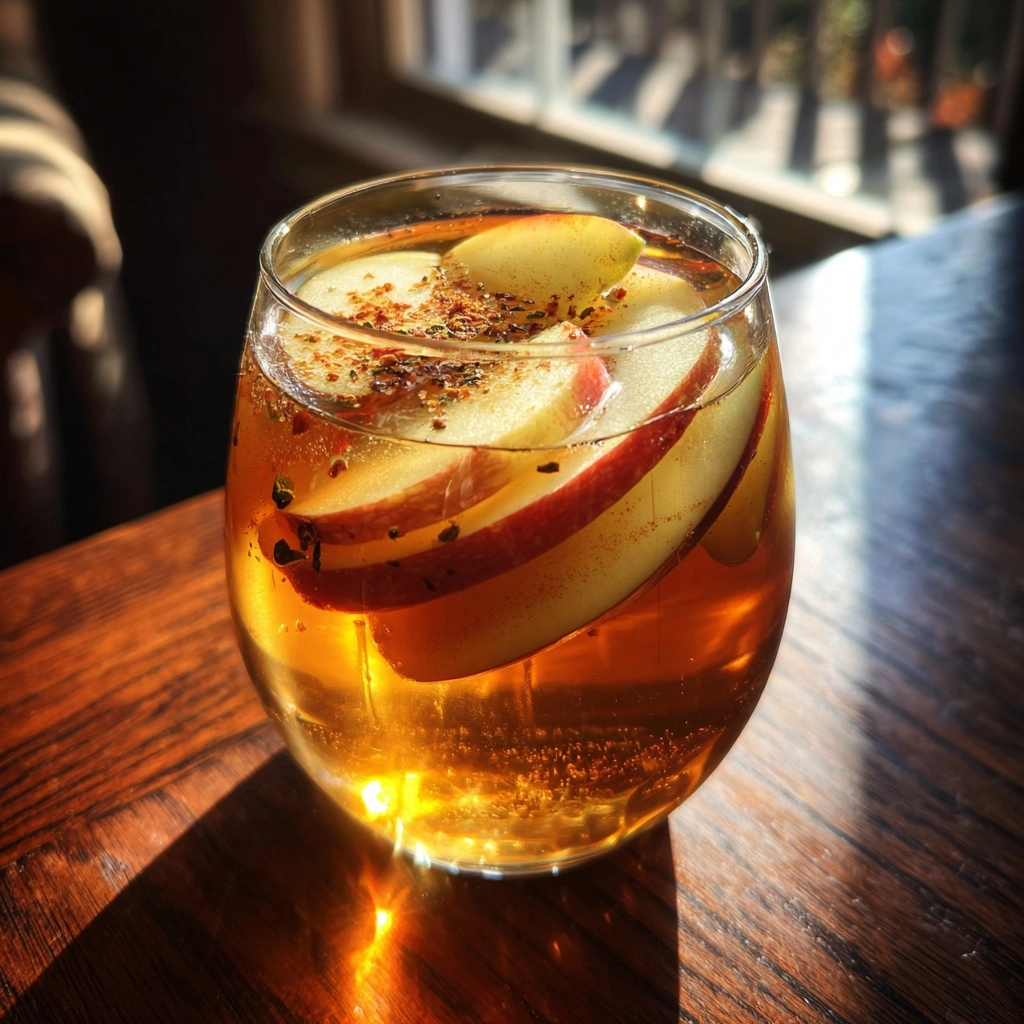
Poisoned Apple Cider
As the leaves turn and the air gets crisp, there’s nothing quite like a warm cup of Poisoned Apple Cider to wrap your hands around. This recipe is not just about flavor; it’s a reminder of the hidden dangers lurking in improperly prepared apple cider. I know how busy life can get, especially for us moms and professionals, so I’ve crafted this recipe to be both simple and delicious. It’s perfect for cozy family gatherings or a quiet evening at home. Let’s dive into this delightful yet cautionary tale of homemade cider!
Why You’ll Love This Poisoned Apple Cider
This Poisoned Apple Cider is not just a drink; it’s an experience! It’s incredibly easy to make, even on the busiest of days. The warm, spiced aroma fills your home, creating a cozy atmosphere that everyone will love. Plus, you can customize it to suit your family’s taste. Whether you’re entertaining guests or enjoying a quiet night in, this cider is sure to impress and warm your heart!
Ingredients for Poisoned Apple Cider
Gathering the right ingredients is key to crafting the perfect Poisoned Apple Cider. Here’s what you’ll need:
- Fresh apples: Choose a mix of sweet and tart apples for depth of flavor. Look for firm, unblemished apples at your local market.
- Water: This is the base of your cider. Use filtered water for the best taste.
- Sugar: A touch of sweetness balances the tartness of the apples. You can substitute with honey or maple syrup for a different flavor profile.
- Cinnamon sticks: These add warmth and spice. Feel free to use ground cinnamon if that’s what you have on hand.
- Cloves: A few whole cloves will give your cider a cozy, aromatic kick. Just be careful not to overdo it, as they can be quite strong!
- Nutmeg: A pinch of this spice adds a lovely depth. Freshly grated nutmeg is ideal, but pre-ground works too.
- Yeast: If you’re planning to ferment your cider, a packet of yeast is essential. Look for a brewing yeast for the best results.
For exact measurements, check the bottom of the article where you can find everything available for printing. Happy cider-making!
How to Make Poisoned Apple Cider
Making Poisoned Apple Cider is a delightful journey that fills your home with warmth and spice. Follow these simple steps to create a delicious beverage that’s both comforting and cautionary. Let’s get started!
Step 1: Prepare the Apples
First things first, wash your fresh apples thoroughly. I like to give them a good scrub under running water. This removes any dirt or pesticides. Next, chop the apples into quarters, making sure to remove any bad spots. Trust me, a little extra care here goes a long way in ensuring your cider is safe and tasty!
Step 2: Combine Ingredients
In a large pot, combine your chopped apples with the water. This is where the magic begins! The water will help extract all those lovely flavors from the apples. Make sure the apples are fully submerged for the best results.
Step 3: Boil and Simmer
Bring the mixture to a boil over medium-high heat. Once it’s bubbling, reduce the heat and let it simmer for about 30 minutes. This simmering process is crucial; it allows the flavors to meld beautifully, creating a rich and aromatic base for your cider.
Step 4: Add Spices and Sugar
After simmering, it’s time to add the sugar, cinnamon sticks, cloves, and nutmeg. Stir well until the sugar dissolves completely. The aroma will be heavenly! This step is where your cider starts to transform into a warm hug in a mug.
Step 5: Strain the Mixture
🚫 Don’t Buy This If…
- ❌ You hate hosting fun parties
- ❌ You don’t like saving time in the kitchen
- ❌ You only want boring, basic recipes
✅ What You’ll Get:
- ✅ 63 spooky & delicious Halloween recipes
- ✅ Creepy treats, eerie snacks, scary drinks & more
- ✅ Kid-friendly & adult-approved
- ✅ 📥 Instant digital download – start cooking today!

Now, grab a fine mesh sieve or cheesecloth. Carefully strain the mixture into a clean container, discarding the solids. This step ensures your cider is smooth and free of any chunky bits. You want that perfect sip every time!
Step 6: Fermentation Process
If you’re feeling adventurous and want to ferment your cider, now’s the time to add the yeast. Sprinkle it in and give it a gentle stir. Seal the container with an airlock to allow gases to escape while keeping contaminants out. This is where the real transformation happens!
Step 7: Monitor Fermentation
Check your cider daily for signs of fermentation, like bubbling or a frothy surface. This process usually takes about 1-2 weeks. Patience is key here! You’ll know it’s ready when the bubbling slows down, and the cider has a pleasant, tangy aroma.
Step 8: Bottling and Refrigeration
Once fermentation is complete, it’s time to bottle your cider. Use clean bottles and fill them, leaving a little space at the top. Seal them tightly and refrigerate. Enjoy your Poisoned Apple Cider within a few weeks for the best flavor. Cheers to your homemade creation!
Tips for Success
- Always sanitize your equipment to prevent any unwanted contamination.
- Use a mix of apple varieties for a more complex flavor profile.
- Keep an eye on the fermentation process; it’s better to check often than to miss any signs.
- Store your cider in a cool, dark place to maintain its freshness.
- Don’t rush the fermentation; good things take time!
Equipment Needed for Poisoned Apple Cider
- Large pot: A stockpot works great, but any large pot will do.
- Fine mesh sieve or cheesecloth: If you don’t have these, a clean kitchen towel can work in a pinch.
- Fermentation container: A glass jar or food-grade plastic container is ideal.
- Airlock: You can use a balloon with a small hole if you’re in a bind.
- Bottles: Recycled glass bottles or mason jars are perfect for storage.
Variations of Poisoned Apple Cider
- Spiced Orange Cider: Add slices of fresh orange and a few extra cinnamon sticks for a citrusy twist.
- Maple-Infused Cider: Substitute sugar with pure maple syrup for a rich, earthy sweetness.
- Berry Blend: Toss in a handful of fresh or frozen berries like cranberries or blueberries for a fruity burst.
- Alcoholic Version: For an adult treat, add a splash of rum or bourbon after fermentation.
- Herbal Infusion: Experiment with adding fresh herbs like rosemary or thyme for a unique flavor profile.
Serving Suggestions for Poisoned Apple Cider
- Serve warm in cozy mugs, garnished with a cinnamon stick for a festive touch.
- Pair with freshly baked apple pie or spiced cookies for a delightful dessert combo.
- For a fun twist, add a splash of sparkling water for a fizzy version.
- Consider a cheese platter with sharp cheddar to balance the sweetness.
- Decorate your serving area with autumn leaves and candles for a warm ambiance.
FAQs about Poisoned Apple Cider
What are the dangers of improperly prepared apple cider?
Improperly prepared apple cider can lead to contamination and spoilage. If the apples are not washed thoroughly or if equipment isn’t sanitized, harmful bacteria can thrive. Always prioritize cleanliness to ensure your Poisoned Apple Cider is safe to enjoy!
Can I use store-bought apple juice instead of fresh apples?
While you can use store-bought apple juice, it won’t have the same depth of flavor as fresh apples. Fresh apples provide a unique taste and aroma that makes your Poisoned Apple Cider truly special. If you’re short on time, opt for a high-quality juice without additives.
How long does the fermentation process take?
The fermentation process typically takes 1-2 weeks. It’s essential to monitor your cider daily for signs of fermentation, like bubbling. Patience is key, as this is when the flavors develop and the cider transforms!
Can I make Poisoned Apple Cider without fermentation?
Absolutely! You can enjoy your cider right after straining it, without fermentation. Just chill it in the fridge and serve it cold or warm. It will still be delicious, though the flavors will be different from the fermented version.
How should I store my Poisoned Apple Cider?
Store your bottled cider in the refrigerator to maintain freshness. It’s best enjoyed within a few weeks. If you notice any off smells or flavors, it’s best to discard it. Always trust your senses!
Summarizing the Experience of Poisoned Apple Cider
Making Poisoned Apple Cider is more than just a recipe; it’s a journey filled with warmth, nostalgia, and a hint of caution. As you simmer the apples and spices, your home transforms into a cozy haven, inviting everyone to gather around. The joy of sharing this homemade cider with loved ones is unmatched, creating memories that linger long after the last sip. Whether you choose to ferment it or enjoy it fresh, each cup tells a story of care and creativity. So, embrace the process, savor the flavors, and let your Poisoned Apple Cider be a delightful centerpiece in your home!
Print
Poisoned Apple Cider: Discover Its Hidden Dangers!
- Prep Time: 15 minutes
- Cook Time: 30 minutes
- Total Time: 2 weeks (including fermentation)
- Yield: 1 gallon
- Category: Beverage
- Method: Simmering and Fermentation
- Cuisine: American
- Diet: Vegetarian
Description
Poisoned Apple Cider is a cautionary tale about the hidden dangers of consuming improperly prepared apple cider, highlighting the risks associated with contamination and improper fermentation.
Ingredients
- Fresh apples – 10
- Water – 4 cups
- Sugar – 1 cup
- Cinnamon sticks – 2
- Cloves – 5
- Nutmeg – 1/2 tsp
- Yeast – 1 packet (if fermenting)
Instructions
- Wash and chop the apples, removing any bad spots.
- In a large pot, combine the chopped apples and water.
- Bring the mixture to a boil, then reduce heat and simmer for 30 minutes.
- Add sugar, cinnamon, cloves, and nutmeg, stirring until sugar dissolves.
- Strain the mixture through a fine mesh sieve or cheesecloth into a clean container.
- If fermenting, add yeast and seal the container with an airlock.
- Let the cider ferment for 1-2 weeks, checking for signs of fermentation.
- Once fermentation is complete, bottle the cider and refrigerate.
Notes
- Ensure all equipment is sanitized to prevent contamination.
- Monitor fermentation closely to avoid spoilage.
- Consume within a few weeks for best flavor.
Nutrition
- Serving Size: 1 cup
- Calories: 150
- Sugar: 30g
- Sodium: 5mg
- Fat: 0g
- Saturated Fat: 0g
- Unsaturated Fat: 0g
- Trans Fat: 0g
- Carbohydrates: 38g
- Fiber: 1g
- Protein: 0g
- Cholesterol: 0mg